Mounting the SteelConnect Access Point Appliances
This chapter describes how to install or mount the access point appliances and discusses the following topics:
Site Preparations or Considerations
Safety Information
•Do not attempt to service the appliance. This sealed unit contains no user-serviceable parts or adjustments. Do not open or tamper with the power supply.
•Carefully inspect the work area in which the SDI-AP3 and SDI-AP5 appliances will be located to ensure against hazards such as damp floors, ungrounded power extension cords, and missing ground connections.
•Before operating the appliance, ensure that external power sources comply with the requirements.
•Ensure that the ampere rating of all equipment plugged into wall outlets does not exceed the capacity of the outlet.
•If you require an extension cord, ensure that the ampere rating of all equipment plugged into the extension cord does not exceed the cord’s ampere rating.
•If the SDI-AP3 and SDI-AP5 appliances are exposed to moisture or condensation, disconnect it from the power source immediately and obtain service assistance.
•If the appliance exhibits unexpected behavior, such as smoking or becoming extremely hot, disconnect it from the power source immediately and then obtain service assistance.
Environmental Considerations
The following is a list of environmental considerations that will ensure safe and efficient operations of the appliance:
•Ensure that the appliance has at least 12 inches of clearance on all sides to allow for proper ventilation. The appliance generates heat and requires adequate circulation to maintain proper operating temperatures. Never cover or obstruct the appliance ventilation slots.
•Do not position the appliance near high-powered radio transmitters or electrical equipment, such as electrical motors or air conditioners. Interference from electrical equipment can cause intermittent failures.
•Do not install the SDI-AP3 and SDI-AP5 appliances in areas where condensation, water, or other liquids may be present. These may cause safety hazards and equipment failure.
Mounting the SDI-AP3 and SDI-AP5
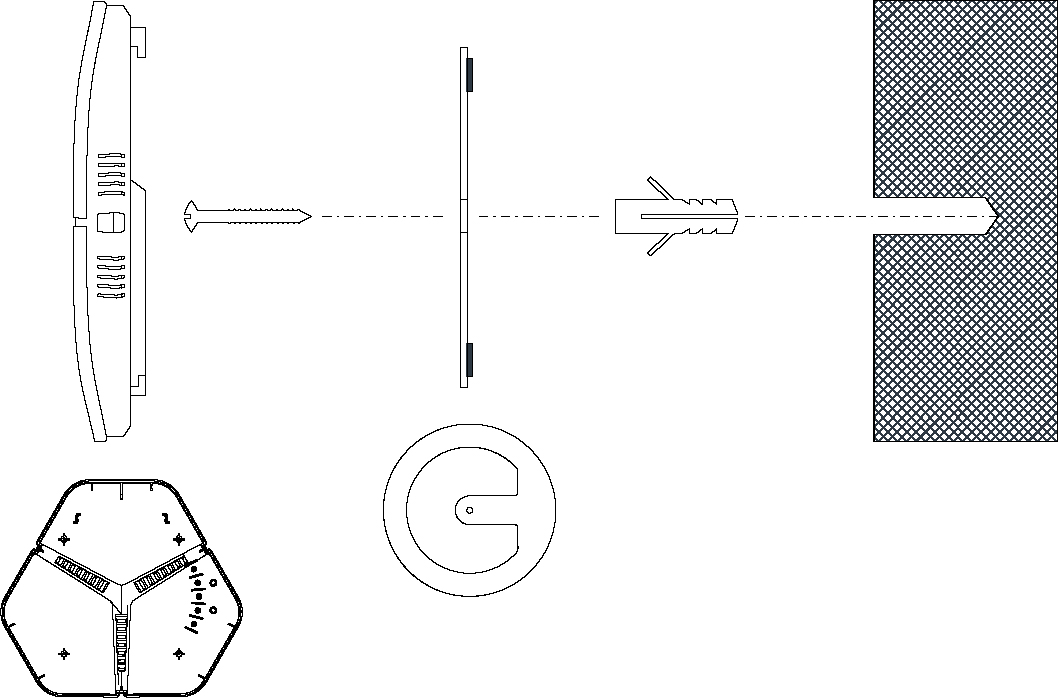
The SDI-AP3 and SDI-AP5 can be mounted to a wall or ceiling using the snap disk. If a solid mount is not required, the appliance can be used as a tabletop unit. Distance from the AP to the power supply source should be considered before mounting the AP.
For best radio coverage, the AP should be ceiling mounted.
The AP ships with a snap disk, screw, and drywall anchor. Supply the AP with power by either using the power supply or a Power over Ethernet (PoE). Attach the power to the AP before mounting it.
To mount the AP to a wall or ceiling
1. Use a power drill to drill pilot holes for the dry wall anchor. Insert the drywall anchor into the pilot hole.
2. Place the snap disk over the drywall anchor. Secure the snap disk to the wall by driving the screw into the drywall anchor.
3. Place the AP over the snap disk and snap it into place.
4. Plug in the power supply or PoE to power up the AP.
Mounting the SDI-AP3 and SDI-AP5
Installing the SDI-AP5R
You can mount the SDI-AP5R to a wall or a pole using the mounting kit that ships with the appliance. Make sure to mount all antennas as indicated on the device (2.4 GHz and 5 GHz) before mounting the appliance. Distance from the appliance to the power supply source should be considered before mounting it.
The AP can only be powered by PoE+ (IEEE 802.3at) through the LAN1 port. Supply power by connecting the LAN1 port either to a PoE+ injector or a PoE+ capable switch port.
Use the grounding strap that ships with the SDI-AP5R to prevent damage to the AP. Connect one end of the grounding strap to a grounding post with a screw and washer. Securely attach it to another nearby metal structure.
Wall Mounting the SDI-AP5R
1. Mark the four locations on a flat surface for the mounting holes.
Mounting Hole Locations
2. Drill holes in the four marked locations. Each hole should be 37 mm (1.46 in.) deep and 8 mm (.31 in.) wide. Hammer the bolts into the openings.
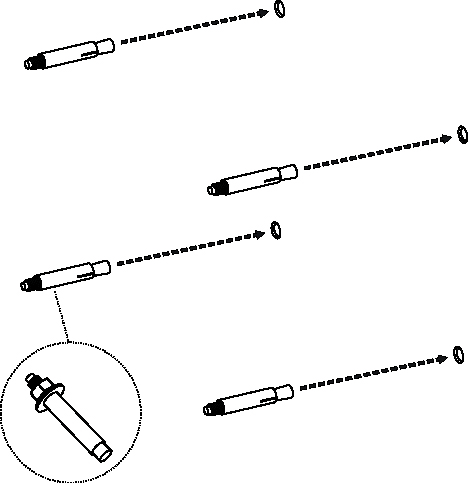
Installing the Bolts
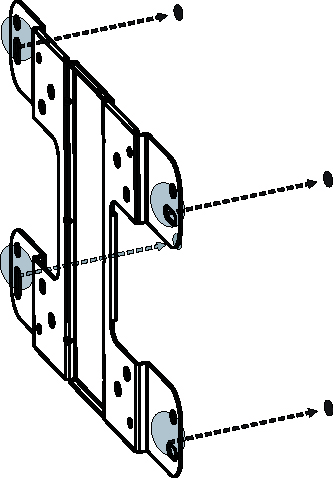
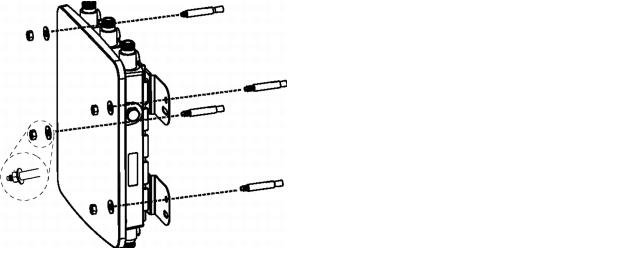
3. Place the lock and flat washers on the four cap screws and use the screws to attach the bracket to the back of the appliance.

Attaching the Bracket
4. Attach the device to the wall by tightening the bolt’s flat washers and nuts to secure the bracket to the mounting surface.
Securing the AP to the Wall
Pole Mounting the SDI-AP5R
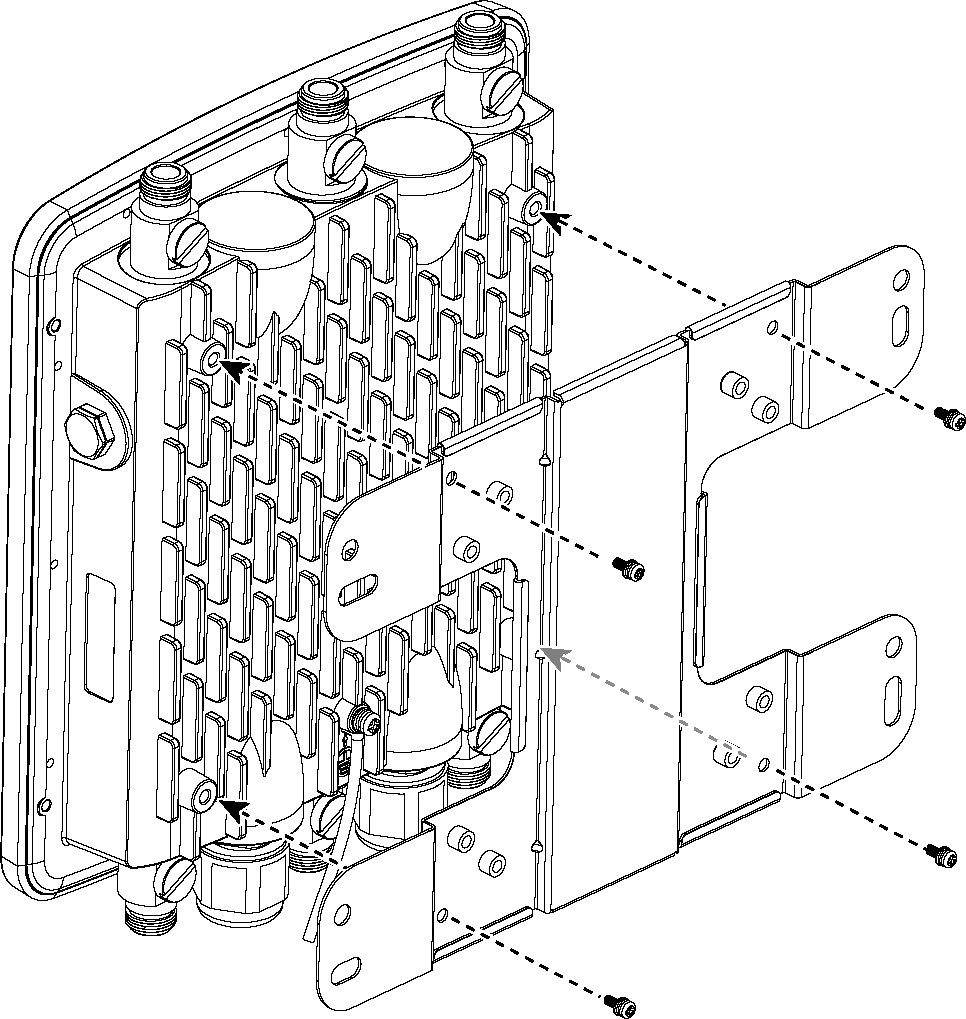
1. Place the lock and flat washers on the four cap screws and use the screws to attach the bracket to the back of the AP.
Attaching the Bracket
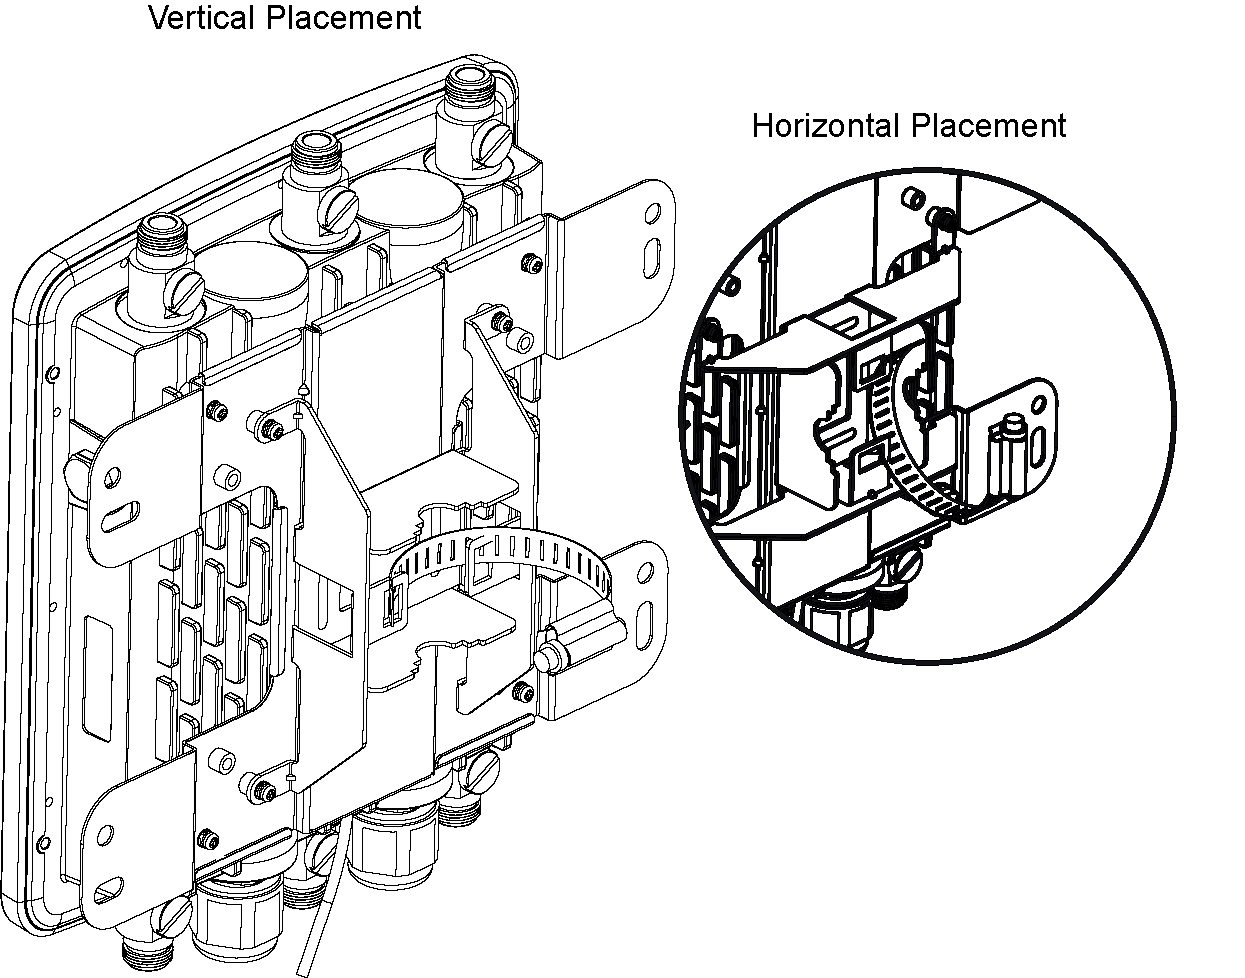
2. Determine placement (horizontal or vertical) and use the four round head screws to attach the pole mount bracket.
Attaching the Pole Mount Bracket

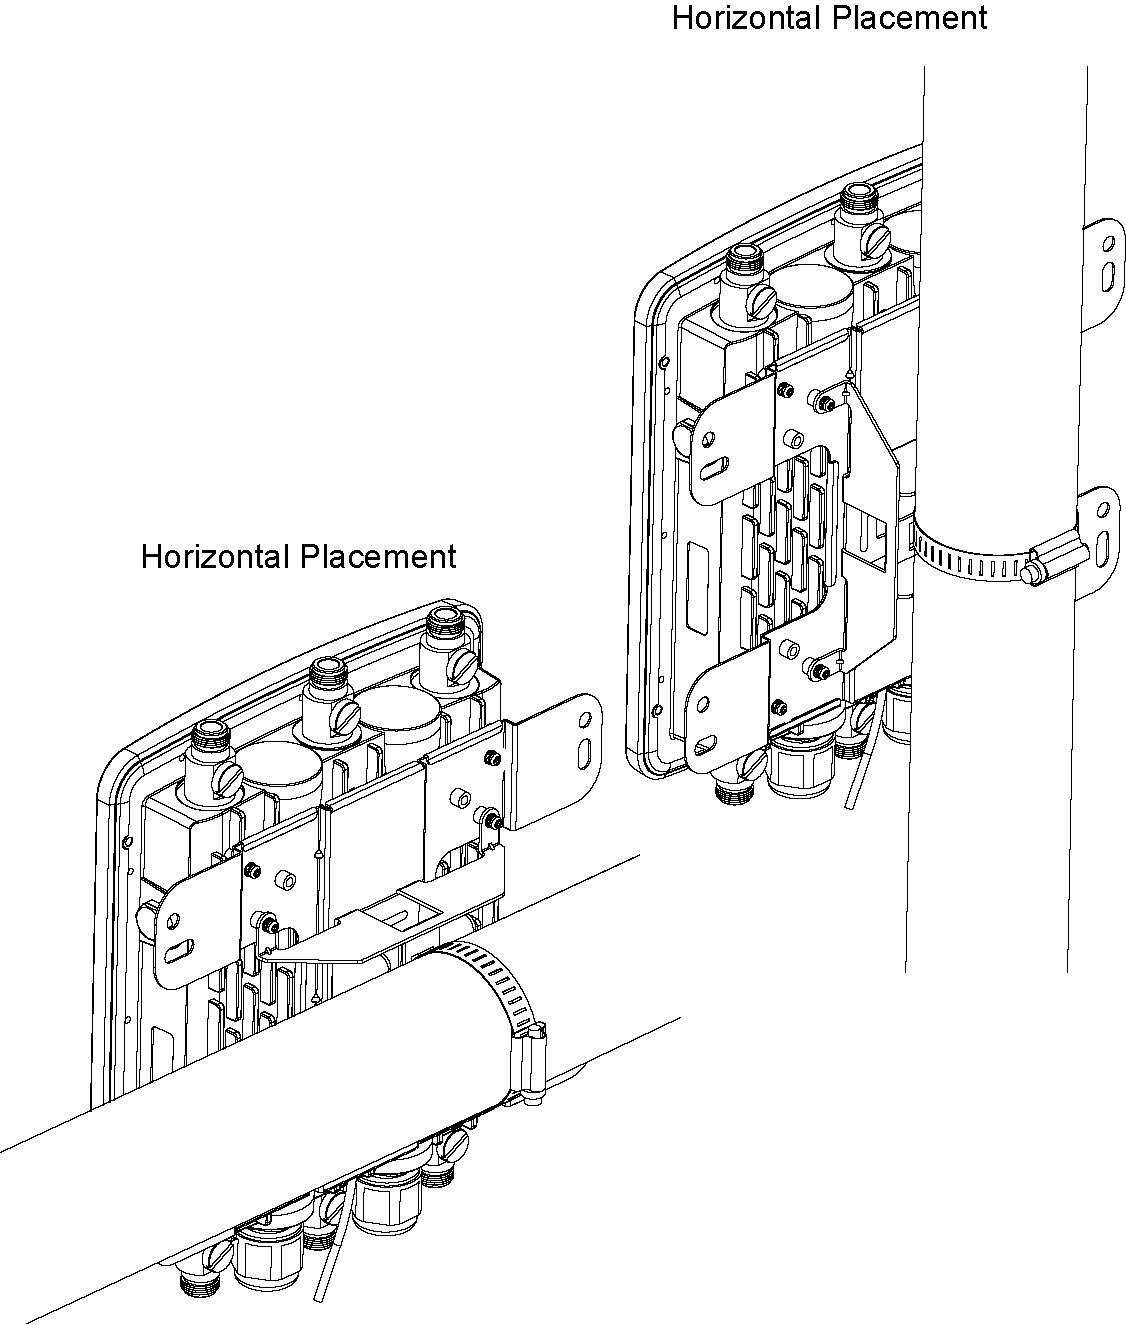
3. Thread the open end of the pole strap through the two tabs on the pole mount brackets.
Attaching the Straps to the Pole Mount Bracket
4. Lock and tighten the pole strap to secure the pole mount bracket to the pole.
Secure the Pole Mount Strap
Connecting Power
The AP appliance can only be power by PoE+ through the LAN1 port. Supply power by connecting the LAN1 port to a PoE+ injector or a PoE+ capable switch port.
Connecting to the Network
Connect the AP to your local network. In order to find a SteelConnect Manager instance, the AP needs Internet access. Make sure the network provides a DHCP service so the AP can establish a connection automatically.
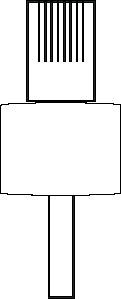
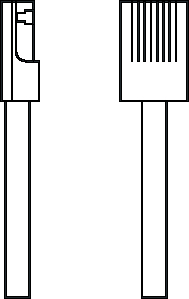
Connector Requirements
Follow these guidelines when considering cable options:
•Use CAT5e or higher connectors only
•Make sure the total plug length is 30 mm (1.3 in.) or less
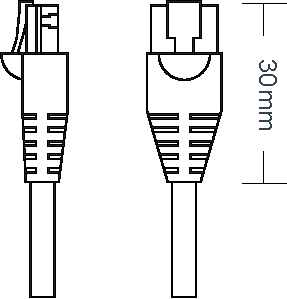
•Remove the band protection with a cutter if needed. Remove the catch completely for easy maintenance.
•Place the sleeve around the cable and plug the connector into the appliance. Make sure to pull the screw cap tight.