Removing and Installing the Air Duct
The appliances in this chapter require an air duct for proper airflow. Always operate your appliance with the air duct in place.
You need to remove the air duct to access many internal components.
Removing and Installing the Air Duct for 1U Appliances
Follow these instructions to remove and install the air duct for the 1U appliances.
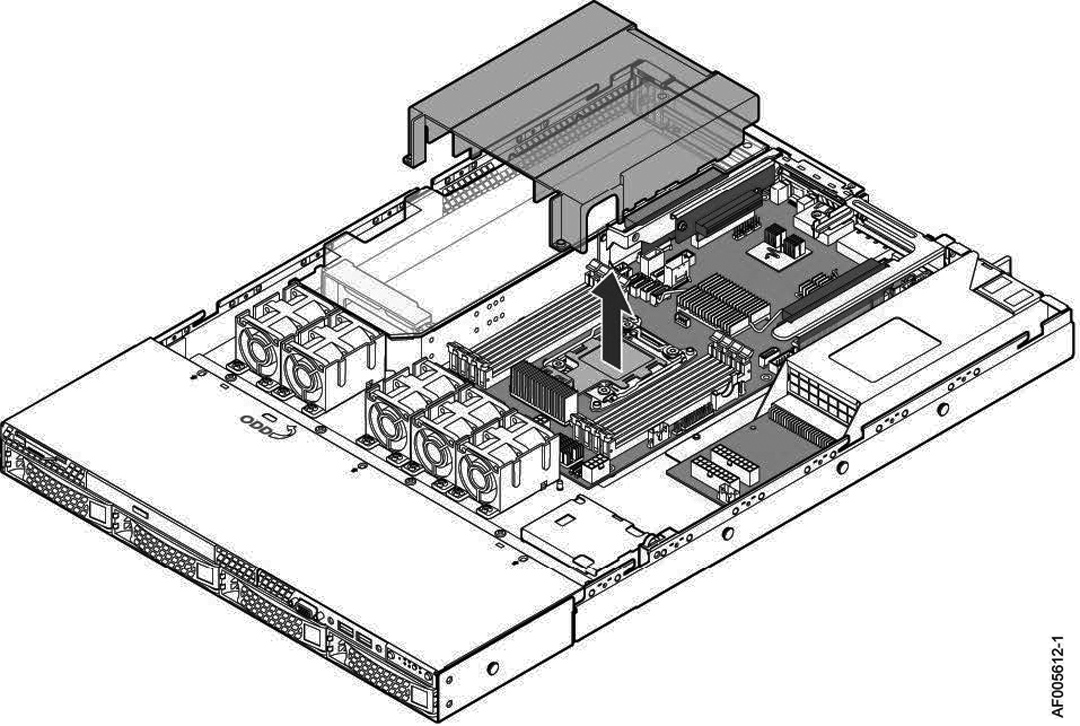
To remove the air duct
• Lift straight up.
Figure: Removing the Air Duct
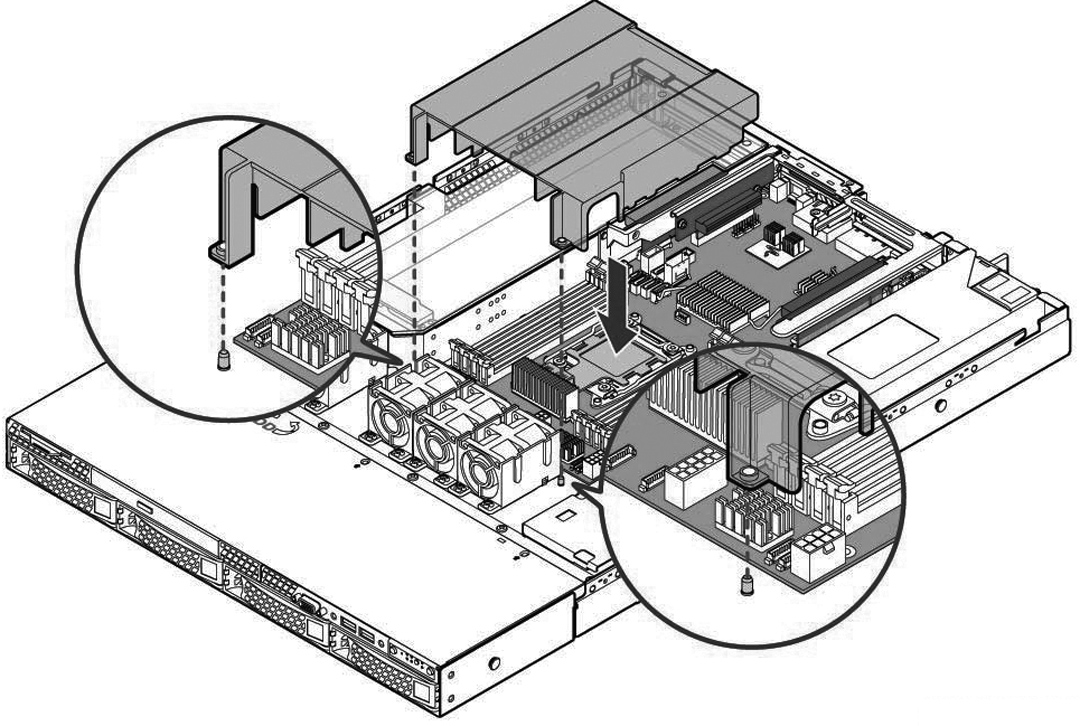
To install the air duct
• Ensure the HDD cable is inside the air duct, align the two holes on the air duct with the alignment pins on the chassis, and lower the air duct into place.
Figure: Installing the Air Duct
Removing and Installing the Air Duct for 2U Appliances
Follow these instructions to remove and install the air duct for the 2U appliances.
To remove the air duct
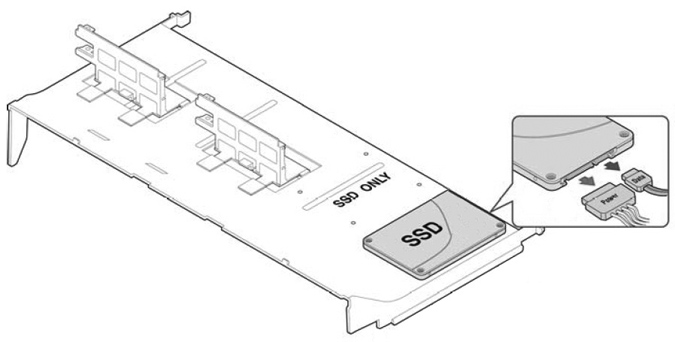
1. For SteelHead CX, SteelHead Interceptor 9600, and SteelFusion Core 3500, unplug the cables on the SSD boot drive.
Figure: Unplugging the SSD Drive Cable
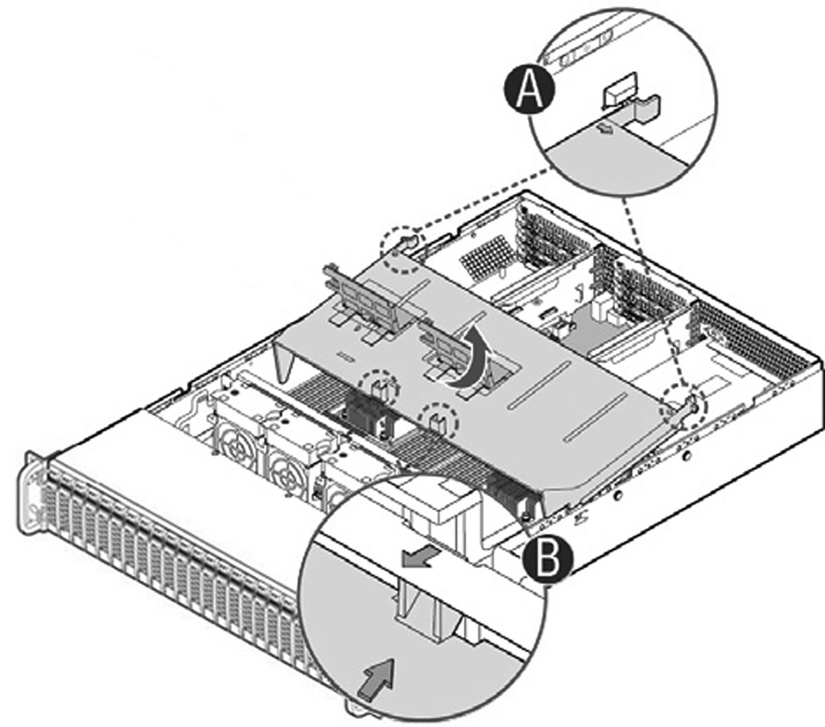
3. Rotate the front edge of the air duct up to disengage the two tabs from the fan bulkhead (letter B).
Figure: Removing the Air Duct
To install the air duct
1. Lower back edge of the air duct to engage the two tabs on the fan bulkhead (letter A).
2. Carefully push in the two latches on the air duct (letter B).
3. Push down on the air duct to move it into place (letter C).
Figure: Installing the Air Duct

4. For SteelHead CX, SteelHead Interceptor 9600, and SteelFusion Core 3500, plug in the SSD boot drive cable.