Opening VMware VI or vSphere client
Each package contains a predefined virtual hardware configuration for a Mobile Controller-v designed to support up to 100 endpoints. Don’t open or modify any of the files in the package. If your Mobile Controller-v must control more than 100 endpoints, you can reconfigure your virtual machine after installation. The package files require several gigabytes of disk space.
Installation procedures vary depending on whether you’re using the VMware VI or vSphere client. The examples in this document are created using the vSphere client.
The Mobile Controller-v on ESXi is provided by Riverbed as an OVA file for VMware ESXi.
Deploying the OVA package
This section describes how to install and configure the default (100 endpoint) Mobile Controller-v on a VMware ESXi host using the vSphere client.
The standard installation puts both VMDKs in a single local storage location. The local storage holds the virtual machine files and is referred to as a “datastore” during OVF deployment, but it is not used for the Riverbed Optimization System (RiOS) data store, which is used for network optimization.
Make sure that the data store you select has enough capacity for the OVA package to be installed. You need at least 25 GB. The larger VMDK containing the management system can be installed on any data store type. The smaller VMDK contains the Mobile Controller-v statistics. The data store must have enough room to expand to the required size of the Mobile Controller-v. Don’t share host physical disks (such as SCSI or SATA disks) between VMs.
To deploy the OVA template
1. Open VMware vSphere, type the hostname IP address or name, your username, and your password, and click Login.
2. Choose File > Deploy OVF template.
3. Click Deploy from file, and then click Browse.
4. Select the OVA file (filename ending in .ova) and click Open to display the Deploy OVF Template page.
Figure 4‑1. Choosing the OVF file
5. Click Next.
6. Verify that the OVA file (shown in the OVF Template Details page) is the one you want to deploy.
Figure 4‑2. OVF template details
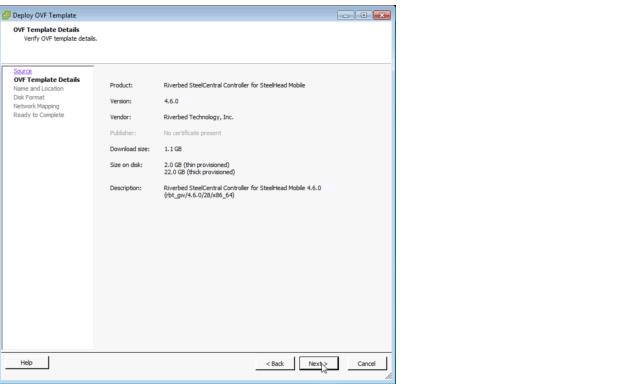
7. Click Next.
8. Type a name for the virtual machine in the Name and Location page.
Figure 4‑3. Name and location page
9. Click Next.
10. Select Thick provisioned format (in the Disk Format page) unless you have a specific reason for requiring thin provisioning.
Figure 4‑4. Disk format page
11. Click Next.
12. In the Network Mapping page, select the destination network name and select a network from the drop-down list to map the source network to a destination network. Set Primary to Aux and Aux to primary.
Figure 4‑5. Network mapping
13. Click Next.
14. Verify the deployment settings and click Finish. Deployment status messages display.
Figure 4‑6. Deployment status
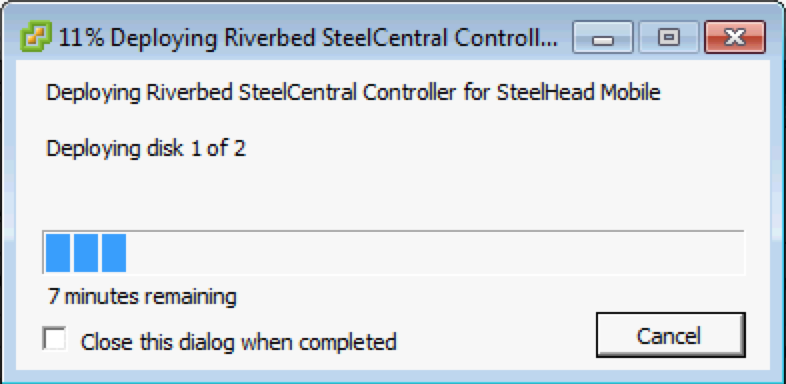
A message shows the amount of time before the deployment finishes. When the deployment finishes, a message tells you the deployment was successful (see
Figure: Successful completion message). You can edit disk size and provisioning settings later by right-clicking the name of your virtual machine.
Figure 4‑7. Successful completion message

15. Click Close.
The new virtual machine appears under the hostname or host IP address to the virtual machine inventory.