Deploying AppResponse 11 Virtual Edition
Deploying the AppResponse 11 OVA package to the ESXi server
Install the AppResponse 11 software on the ESXi server, as follows:
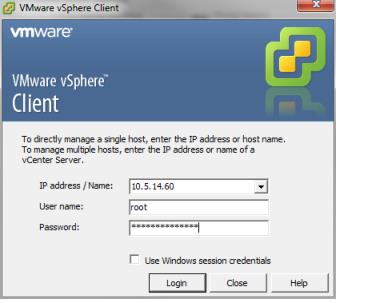
1. Using the VMware vSphere Client, log in to the ESXi server.
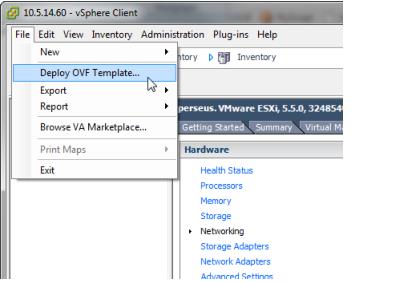
2. Click
File->Deploy OVF Template….
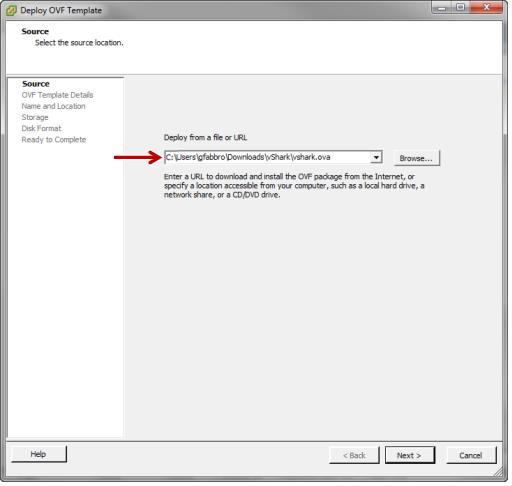
3. On the
Source screen enter the path to the AppResponse 11 OVA file.
4. On the
OVF Template Details screen, click
Next.

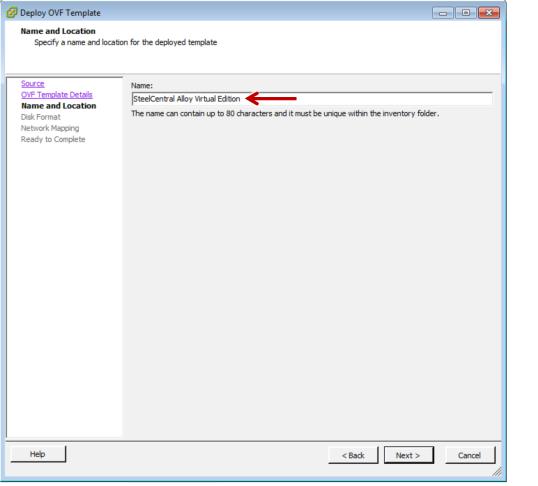
5. On the
Name and Location screen enter a name for the AppResponse 11.
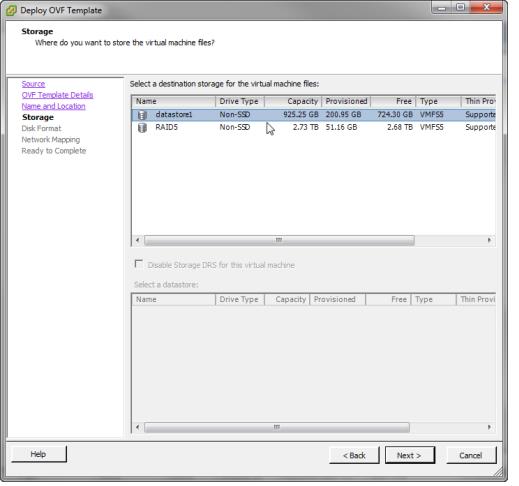
6. On the
Datastore screen, select the server drive where you will store the AppResponse 11 files.
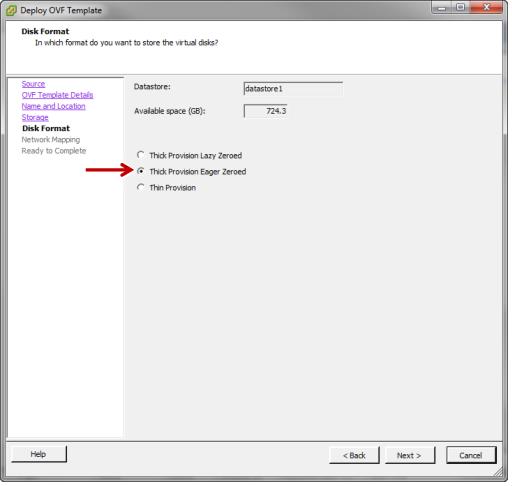
7. On the Disk Format screen select the disk provisioning form Thick Provision Eager Zeroed.
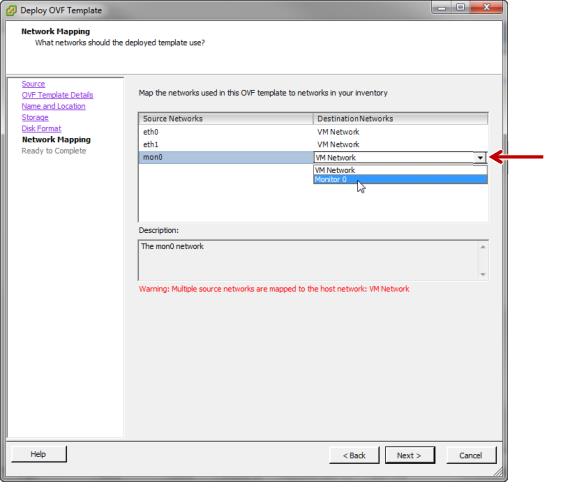
8. On the Network Mapping page, map the source networks (ports) of the AppResponse 11 to destination networks (port groups) on the server. The primary and aux source networks are for management; map them to a non-promiscuous-mode destination network (VM Network). The mon0 source network is for data capture; map it to a promiscuous-mode destination network (Monitor0).
9. On the Ready to Complete summary page click Finish to start the deployment.
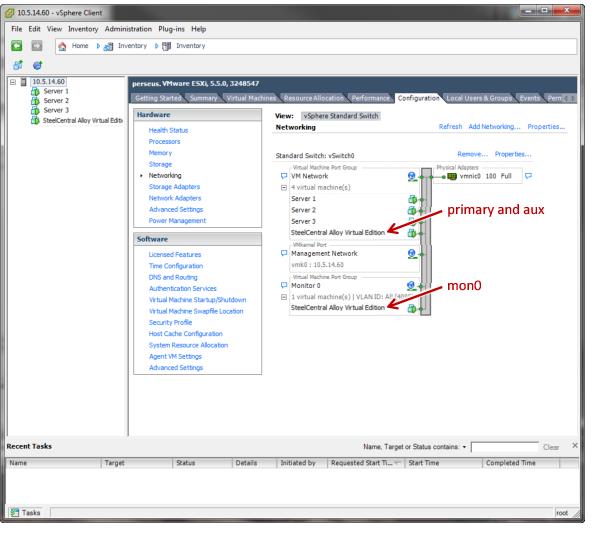
When the deployment has completed, you can see the resulting network structure on the Networking configuration page.
In the example configuration shown below, the AppResponse 11 has been added to the server as SteelCentral Alloy Virtual Edition. The primary and aux ports are mapped to the VM Network port group and the mon0 port is mapped to the Monitor0 port group.