Viewing Process Dump Files
The Reports > Diagnostics > Controller > Process Dumps report displays a list of process files and size.
To view process dump files
1. Choose Reports > Diagnostics > Controller > Process Dumps to display the Process Dumps page.
2. Under Controller Diagnostic in the left menu, click Process Dumps to display the Controller Diagnostic > Process Dumps page.
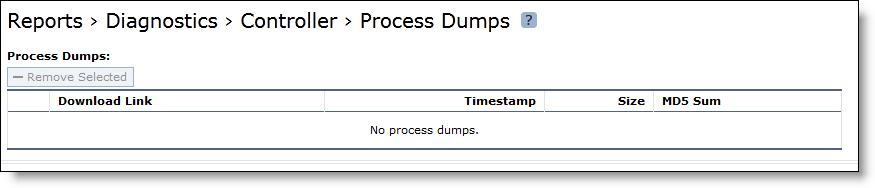
Figure: Controller Diagnostic > Process Dumps Page
To upload a process dump file to Riverbed support
1. Choose Reports > Diagnostics > Controller> Process Dumps to display the Process Dumps page.
2. Select the filename.
3. Optionally, specify a case number that corresponds to the system dump. Riverbed Support recommends using a case number: for example, 194170.
You can also enter the CLI command file debug dump upload URL to specify a URL instead of a case number. When you specify a URL, the dump file goes directly to the URL.
If the URL points to a directory on the upload server, it must have a trailing backslash (/).
For example:
ftp://ftp.riverbed.com/incoming/
(not ftp://ftp.riverbed.com/incoming)
The filename as it exists on the appliance will then match the filename on the upload server.
For details, see the Riverbed Command-Line Interface Reference Manual.
4. Click Upload.
Because uploading a system dump can take a while, the status appears during the upload. When the system dump finishes uploading, the date, time, and a status of either uploaded (appears in green) or failed (appears in red). An explanation appears for uploads that fail.