Peering page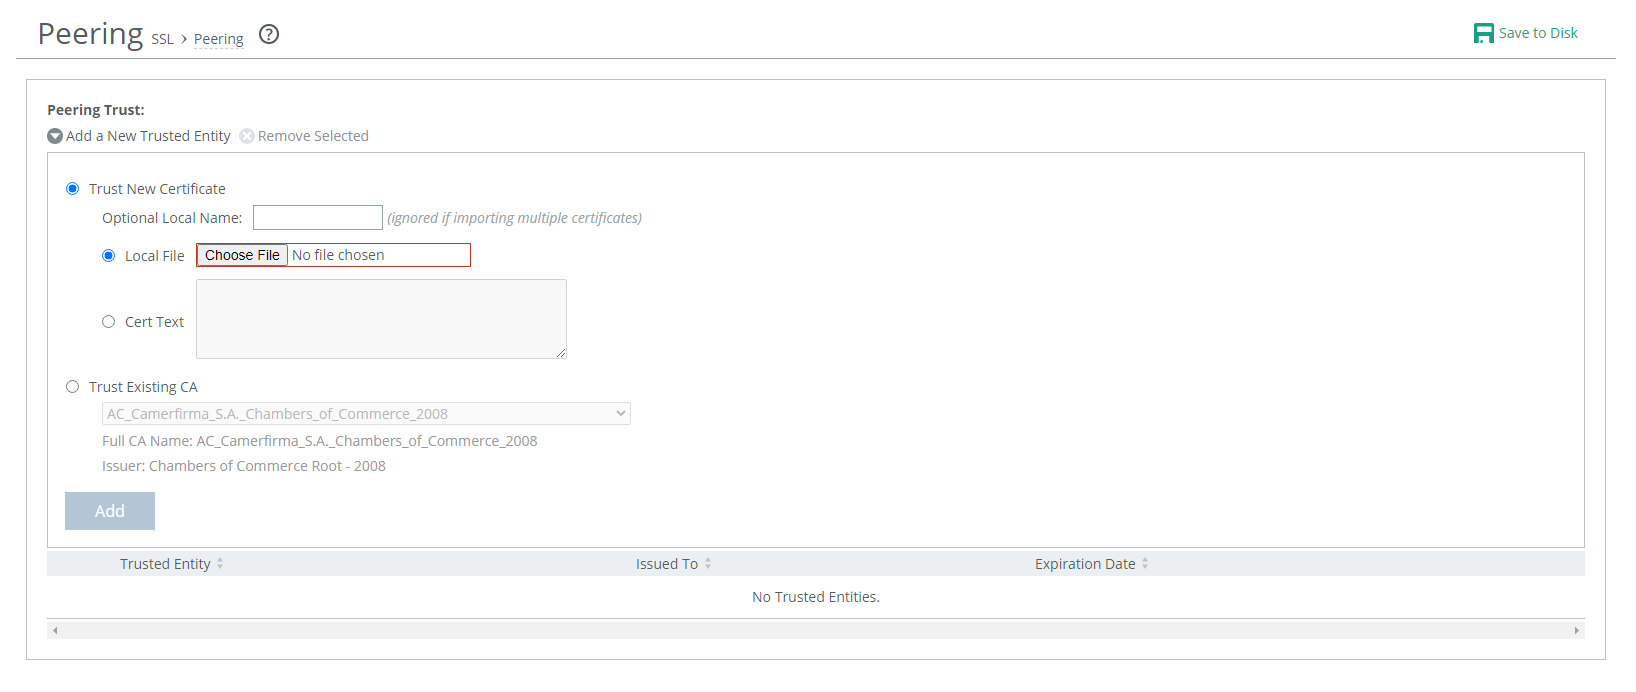
Control | Description |
Add a New Trusted Entity | Displays the controls for adding trusted entities. |
Trust Existing CA | Select an existing CA from the drop-down list. |
Trust New Certificate | Adds a new CA or peer certificate. The SteelHead supports RSA and DSA for peering trust entities. |
Optional Local Name | Optionally, specify a local name for the entity (for example, the fully qualified domain name). |
Local File | Browse to the local file. |
Cert Text | Paste the content of the certificate text file into the text box. |
Add | Adds the trusted entity (or peer) to the trusted peers list. |
Remove Selected | Select the check box next to the name and click Remove Selected. |