Configuring NAT IP Address Mapping

This feature is supported by only the SteelHead (in the cloud).
You configure NAT IP address mapping for the SteelHead (in the cloud) in the Optimization > Cloud: NAT IP Address Mapping page.
To configure NAT IP address mapping
1. Choose Optimization > Cloud: NAT IP Address Mapping to display the NAT IP Address Mapping page.
Figure: NAT IP Address Mapping Page
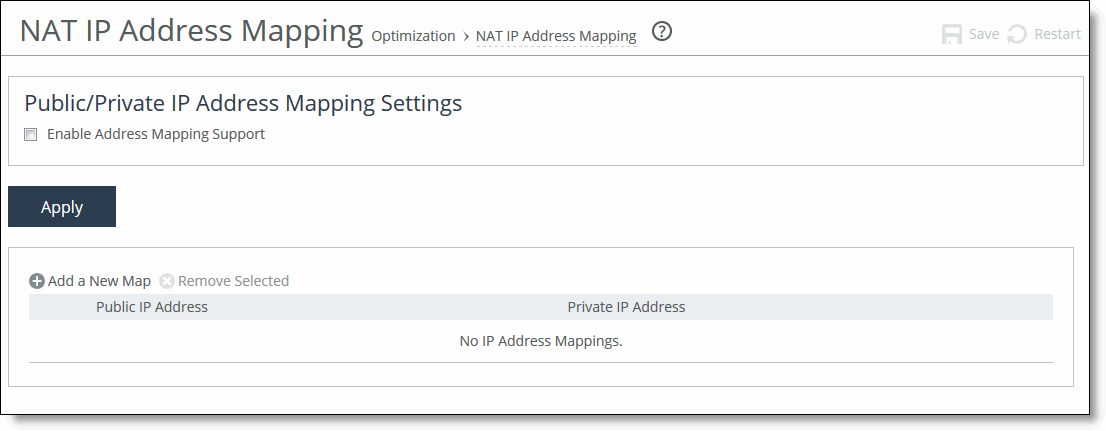
2. Under Public/Private IP Address Mapping Settings, select the Enable Address Mapping Support check box to enable the SteelHead (in the cloud) to support public or private IP address mapping.
3. Click Apply to apply your settings to the running configuration.
4. Complete the configuration as described in this table.
Control | Description |
Add a New Map | Displays the controls to add a new IP address map. |
Remove Selected | Select the check box next to the IP address and click Remove Selected to delete it from the system. |
Public IP | Type the current public IP address of the appliance. |
Private IP | Type the private IP address (cloud vendor-assigned) of the appliance. |
Add | Adds the public IP address and private IP address of the appliance to the system. |