RADIUS page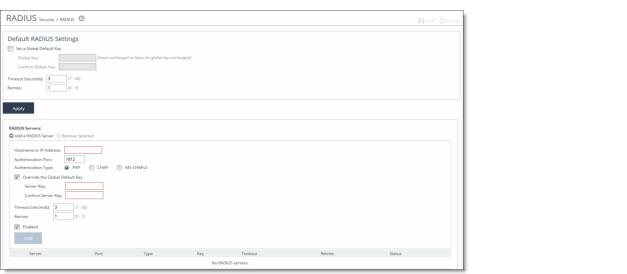
Control | Description |
Set a Global Default Key | Enables a global server key for the RADIUS server. |
Global Key | Specify the global server key. |
Confirm Global Key | Confirm the global server key. |
Timeout (seconds) | Specify the time-out period in seconds (1 to 60). The default value is 3. |
Retries | Specify the number of times the user can retry authentication (0 to 5). The default value is 1. |
Control | Description |
Add a RADIUS Server | Displays the controls for defining a new RADIUS server. |
Hostname or IP Address | Specify the server IP address. |
Authentication Port | Specify the port for the server. The default value is 1812. |
Authentication Type | Select either PAP or CHAP as the authentication type. |
Override the Global Default Key | Overrides the global server key for the server. |
Server Key—Specify the override server key. | |
Confirm Server Key—Confirm the override server key. | |
Timeout (seconds) | Specify the time-out period in seconds (1 to 60). The default value is 3. |
Retries | Specify the number of times the user can retry authentication. Valid values are 0 to 5. The default value is 1. |
Enabled | Enables the new server. |
Add | Adds the RADIUS server to the list. |
Remove Selected | Select the check box next to the name and click Remove Selected. |